
Sticker Sheets for Merchandise Pickup Bags: Cut Paths and Application Workflow
Printed stickers can improve a collection bag, identify a product variation or help staff close a paper package. But a smart design is not the same as an efficient packing process. Sticker geometry, backing format, adhesive and operator movement all influence whether labels are applied quickly and consistently. This guide concentrates on the handout and fulfilment workflow rather than simply choosing between two cutting terms.
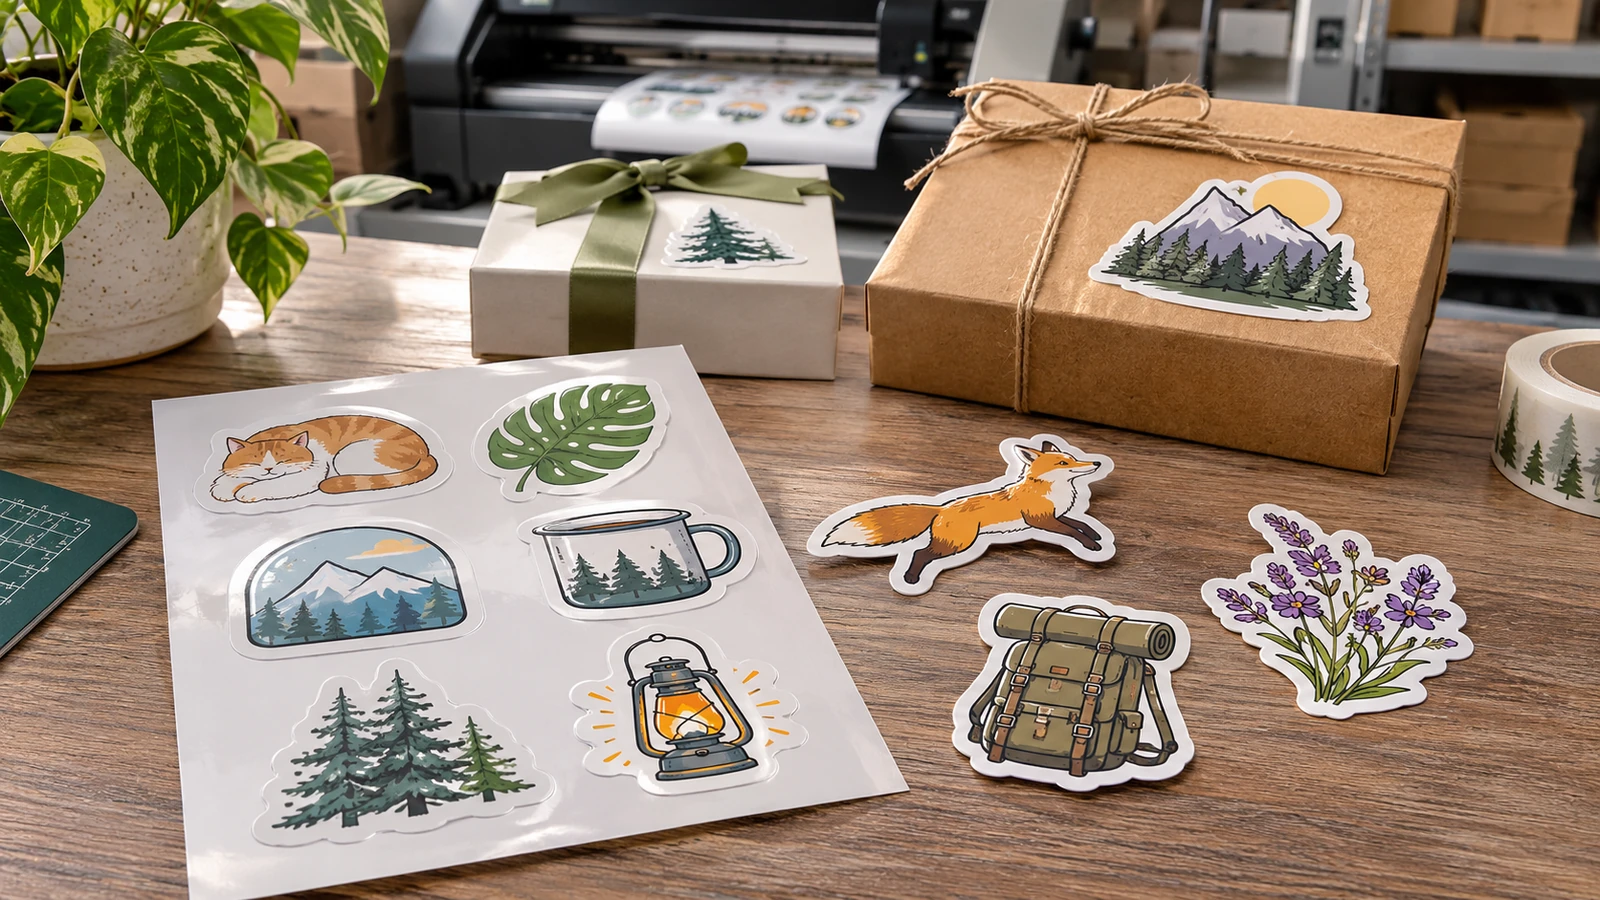
Define exactly what the sticker must do
A seal spanning a folded paper bag needs different adhesive behaviour from a removable event identifier. Decide whether the label must provide tamper evidence, support a promotion or carry essential product information. Measure the bag texture, closure and fold before designing. A decorative sticker may look large on a mockup but buckle when placed across a crease.
For the purchase approval, apply a paper-size prototype onto the actual filled bag and then open it normally. This is worth recording before the design is signed off, because without a precise function, production may optimise appearance while staff struggle during packing.
Choose a delivery format operators can handle
A kiss-cut sheet retains a common liner, making small labels easy to peel without losing them. Individually cut labels may suit inclusion as handouts, while roll formats can support certain repetitive workflows when equipment and layout allow. Ask for the quantity per sheet, distance between pieces and liner size, not merely the cutting style.
A useful verification step is to have a packing worker time a realistic batch using sample backing formats. The practical reason for that check is that a compact liner that tears during peeling can waste more time than its lower material cost saves.
Respect corners and intricate outlines
Tiny sharp extensions, narrow bridges and floating details make contour cutting and peeling harder. Where the artwork has delicate hairline shapes, consider a calmer outer silhouette with breathing room around the print. Leave adequate distance between critical text and the cutting path. Request production tolerances from the supplier instead of assuming every micro-detail can follow the artwork perfectly.
During the production review, inspect the die line and physical cut edge on three pieces across a test sheet. Skipping this step can cause a surprisingly expensive problem: a thin ornamental tail can lift after packing or tear when the sticker is peeled.
Test adhesive on the real bag stock
Kraft bags, coated paper, laminated bags and textured cartons present different surfaces. A sticker that bonds well to one may lift from another, especially over a folded top. Test after a realistic wait, with clean and normal handling conditions. If stickers are used around chilled products or oily surfaces, describe those conditions to the manufacturer rather than choosing a generic label.
The team should also apply samples to final packaging and check edges after storage and transport simulation. Treat this as part of the specification rather than an informal preference, since adhesion claims based only on a smooth desk surface can be misleading.
Plan artwork variants and batch codes
If one label design carries multiple sizes or product variants, establish a clear difference that packers can recognise. Avoid using barely distinguishable shades as the only identifier. Keep the print file, label dimensions, cut path and pack quantity in one specification. When reordering, use that approved file rather than a screenshot from the messaging group.
Before a supplier prepares the final proof, make a small packing checklist showing which sticker belongs on which merchandise type. The risk is operational as much as visual: mixed-up sizes and variants create more customer frustration than imperfect decorative alignment.
Approve packing speed and finished appearance
A suitable sample should be evaluated on the filled bag, not in a flat product catalogue. Check whether the label stays clear when hands grip the handle and whether its design remains readable after sealing. Staff should also be able to remove a liner without touching the adhesive repeatedly. A good label design serves both customer perception and routine production.
For a repeat order, run a ten-bag pilot with the actual operators and record errors and time. Keep the result with the approved sample, since skipping the pilot can lock in hundreds of awkward labels and unnecessary wasted motion.
Practical example: making the decision
Consider a merchandise seller preparing 300 pickup bags in several product colours. The artwork contains five sticker shapes, but the packing team needs only one variant on each bag. Instead of mixing all designs on a single sheet without identifiers, the buyer requests variant-coded sheets and a count per liner. A trial shows that the sharpest star-shaped sticker catches on the paper bag fold, so the contour is simplified before cutting. One test set is applied to filled bags, carried by their handles and opened to check the seal. The operator then compares peel time and errors between single stickers and sheets. The final order records liner dimensions, cut path and packed quantity. Those details are more useful for the next seasonal release than a photograph of a finished sticker alone.
Additional approval considerations
For a busy collection desk, the number of stickers used per bag is as important as the total order quantity. If customers buy two products together but packing instructions require three labels, stock may disappear earlier than expected. Create a simple consumption estimate based on typical order combinations and keep spare labels separate from decorative giveaway pieces.
Packaging workflow should include a place to discard liners safely. Loose paper backing can create clutter and slow workers who handle many parcels. Compare peel direction and tab size as part of the operator trial. Small process improvements may outweigh complex graphic details that are hardly visible once a bag is folded or carried.
- Apply a paper-size prototype onto the actual filled bag and then open it normally.
- Have a packing worker time a realistic batch using sample backing formats.
- Inspect the die line and physical cut edge on three pieces across a test sheet.
- Apply samples to final packaging and check edges after storage and transport simulation.
- Make a small packing checklist showing which sticker belongs on which merchandise type.
- Run a ten-bag pilot with the actual operators and record errors and time.
Frequently asked questions
Are sticker sheets always cheaper?
Not necessarily; material, tooling, print area, quantities and packing affect costs.
Can stickers be used as tamper seals?
Some constructions can help indicate opening, but do not call a label tamper-evident without a suitable validated specification.
How do I supply the cut line?
Ask the printer for its preferred vector cut-line naming, offset and file format.
What sample should I approve?
A real sticker applied to the final bag through the normal packing and opening process.
For a quotation based on the actual garment, print method, quantity and delivery location, review UniformJohor services and use the official enquiry page. Prices, methods, production schedules and minimum quantities must be confirmed for the specific job.