
Compare material/method
How to Prepare Artwork for Shirt Printing
Prepare cleaner files, avoid blurry prints and reduce artwork revisions before sending your design for T-shirt printing.
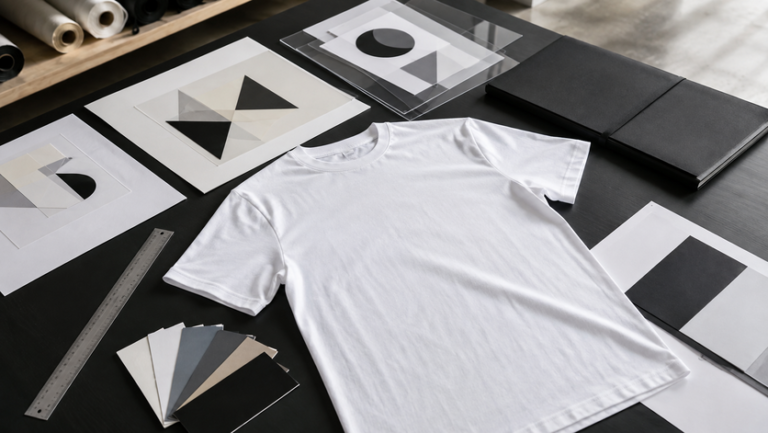
Direct answer: use vector artwork such as AI, EPS, SVG or print-ready PDF whenever possible. If your design is raster, send a transparent PNG or other high-resolution source at the final print size, preferably around 300 DPI. Convert or outline important fonts, remove unwanted backgrounds, confirm colours, state the intended print size and position, and send one clearly labelled final artwork file instead of screenshots or compressed chat images.
Quick Comparison
Best Artwork Files for Shirt Printing
The best file depends on the design and printing method. Vector files are usually easiest for logos and simple graphics, while high-resolution raster files are useful for photographs, textures and complex full-colour artwork.
| File Type | Best Use | Main Advantage | What to Check |
|---|---|---|---|
| AI / EPS | Logos, text, icons and simple graphics | Scales without losing sharpness | Outline or package fonts and linked images |
| SVG | Vector logos and digital artwork | Clean scalable shapes | Confirm effects and fonts render correctly |
| Print-ready vector or mixed artwork | Easy to share while preserving layout | Make sure it contains the high-quality source artwork | |
| PNG | Full-colour artwork with transparency | Supports transparent background | Use enough pixels at final print size |
| JPG | Photographic references or flat artwork | Easy to open and share | No transparency and compression may reduce quality |
| Screenshot | Reference only | Fast for explaining the idea | Usually not suitable as the final print file |
Best for Logos
Vector artwork can be enlarged or reduced without becoming pixelated, making it ideal for company logos and simple text.
High-Resolution Raster
For PNG or photographic artwork, aim for enough pixels to produce about 300 DPI at the intended print dimensions.
Send One Approved File
Clearly mark the final version so the printing team does not accidentally use an older draft.
Garment Planning
Prepare Artwork for the Shirt You Are Printing
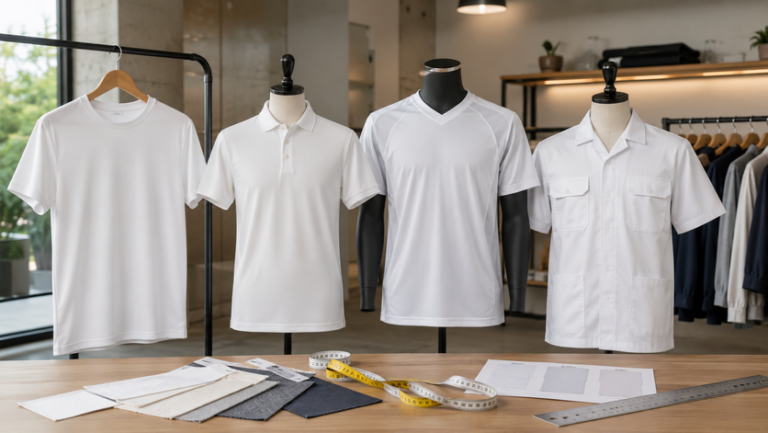
A design that works on one T-shirt may need changes on another. Garment size, fabric, colour, seams, collars and pockets all affect the usable print area.
Regular Cotton T-Shirts
Large front and back artwork usually has a clean uninterrupted area. Check chest width before fixing one print size for all garment sizes.
Microfiber Quick-Dry Shirts
Heat and pressure settings matter. Keep artwork clear and test the chosen decoration method on the actual fabric.
Polo Shirts
The placket and collar reduce the front print area. Small left chest logos and back prints are usually easier to position.
Dark-Coloured Shirts
Make sure the design includes enough contrast. White, light colours or an appropriate underbase may be needed depending on the printing process.
Oversized T-Shirts
Larger garment panels can support larger artwork, but the design should still be tested visually against the actual shirt proportions.
Sports Jerseys
Names, numbers and sponsor logos need consistent placement. Full sublimation artwork also requires the garment panel template supplied by the manufacturer.
| Garment Feature | Artwork Adjustment |
|---|---|
| Collar or placket | Keep artwork away from seams and buttons |
| Decide whether the logo sits above, beside or on the pocket | |
| Zipper | Avoid running one continuous front graphic across the zip unless intentionally split |
| Small garment sizes | Reduce artwork so it does not crowd the chest or seams |
| Large garment sizes | Check whether one standard print size still looks balanced |
Printing Methods
Prepare the File for the Printing Method
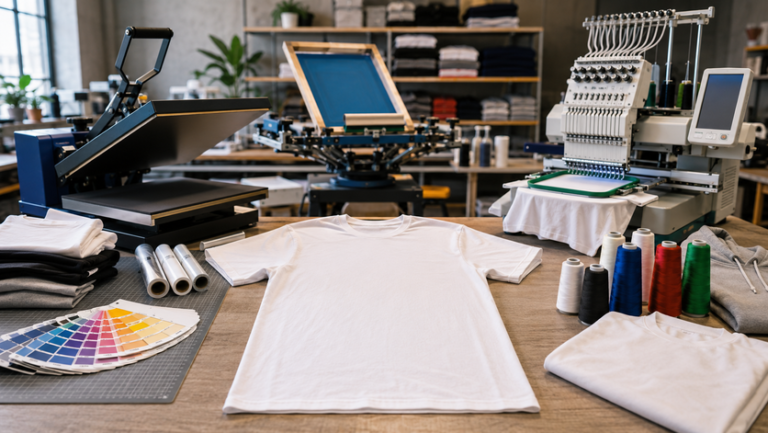
Different decoration methods read artwork differently. Sending the same untreated file for every process can create unnecessary revisions.
DTF Printing
Transparent PNG or vector artwork works well for detailed full-colour designs. Remove unwanted backgrounds and avoid low-resolution edges.
Silkscreen Printing
Vector artwork is especially useful. Keep colour separations, solid shapes and text clean, and identify the required print colours clearly.
Sublimation
Use the correct garment template for full custom jerseys. Extend backgrounds and design elements into the required bleed area supplied by the manufacturer.
Embroidery
Simplify tiny text, thin strokes and close details. The design must be digitised into stitch instructions before embroidery.
Heat Transfer
Prepare clean artwork with the required cut or print boundary and confirm whether the process needs a mirrored file.
Mixed Branding
If one shirt uses embroidery, DTF and sleeve printing, label every design and placement separately to prevent confusion.
| Method | Preferred Artwork Direction | Avoid |
|---|---|---|
| DTF | High-resolution transparent raster or vector | Blurry screenshots and unwanted background boxes |
| Silkscreen | Vector artwork with clear colour separation | Unnecessary gradients and indistinct spot colours |
| Sublimation | Panel template with adequate image resolution | Designing only on a flat T-shirt mockup |
| Embroidery | Simplified vector logo for digitising | Tiny text, hairline strokes and excessive detail |
Colour and Design
Check Contrast, Detail and Print Size
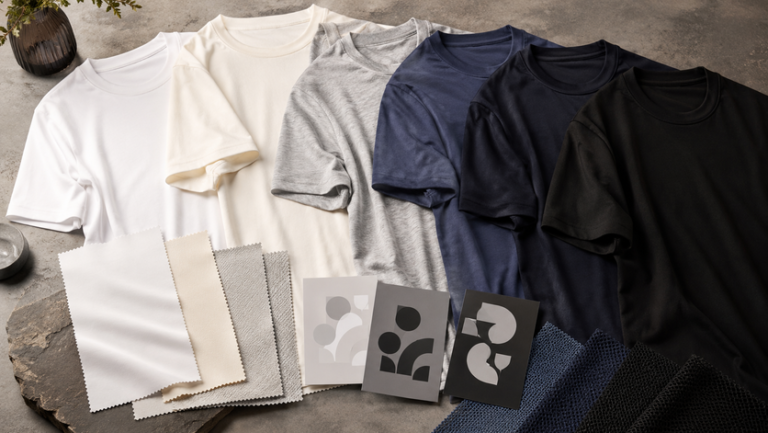
A technically correct file can still print poorly if the design does not suit the shirt colour or intended print size.
Shirt vs Artwork Colour
Make sure important parts of the logo remain visible against the garment. Dark-on-dark and light-on-light combinations can disappear from normal viewing distance.
Small Wording
Avoid very thin letters and tiny text. Simplify secondary information if it becomes hard to read at the actual print size.
Fine Lines
Hairline strokes may disappear or become inconsistent. Use stronger line weights and confirm minimum detail with the printing team.
Background Removal
Remove white or coloured background boxes when the design is meant to print directly on the shirt.
Fonts and Text
Outline important text or include the fonts so the artwork does not change when opened on another computer.
Final Print Dimensions
State the intended width or height and print position. Avoid vague instructions such as “make it big”.
| Artwork Problem | Better Preparation |
|---|---|
| Logo has a white box | Provide transparent PNG or vector artwork |
| Image becomes blurry when enlarged | Send the original high-resolution file or redraw as vector |
| Font changes on another computer | Outline the text or package the font |
| Black logo on black shirt | Create a contrasting colour version |
| Very detailed logo for embroidery | Create a simplified embroidery version |
| Same artwork on XS and 5XL | Check whether one print size looks balanced across the range |
- Do not flatten important transparent areas onto a white background.
- Do not stretch a low-resolution logo to make it “high resolution”.
- Do not depend on screen colours for exact fabric or ink matching.
- Do not place artwork directly over seams unless the method is designed for it.
Ordering Process
Send Artwork in a Clear Production Workflow
- Choose the shirt first. Confirm the garment model, colour and size range before fixing the final artwork dimensions.
- Prepare the best source file. Use vector artwork for logos or a high-resolution raster file for photographic and complex designs.
- Label the printing position. State left chest, centre chest, full front, upper back, full back, sleeve or another exact position.
- State the intended size. Give the approximate printed width or height instead of relying only on a visual mockup.
- Confirm names and numbers. Use one final spelling list for personalised shirts.
- Approve the final mockup. Check spelling, placement, scale, colours and garment selection before production.
Company Logo Only
Send the vector logo, shirt colour, desired chest position and preferred logo size. Keep a simplified version available if embroidery is required.
Full-Colour Event Design
Send a transparent high-resolution PNG or vector file, plus a preview showing the intended front or back placement.
Names and Numbers
Provide one final spreadsheet or list with exact spelling, number, shirt size and quantity for every person.
Only a Small Logo Is Available
Send the best original file you have. The printer may need to redraw or clean the artwork before production.
Several Print Positions
Label each file by location, such as FRONT, BACK and SLEEVE, and provide one overall shirt mockup for reference.
Repeat Company Orders
Save the final source artwork, shirt model, colour, print size and placement so future reorders stay consistent.
Final Checklist
Check These Items Before Sending the Artwork
- Use the original vector or highest-resolution source file
- Remove unwanted backgrounds
- Outline or package important fonts
- Confirm shirt colour and artwork contrast
- State the intended print position
- State the approximate print dimensions
- Check spelling, names and numbers carefully
- Clearly label the final approved version
What is the best file type for a company logo?
AI, EPS, SVG or a vector-based PDF is usually the best starting point because the logo can be scaled without becoming pixelated.
Can I send a PNG for shirt printing?
Yes. A transparent, high-resolution PNG works well for many full-colour printing jobs. It should contain enough pixels for the intended print size.
Is a screenshot good enough?
A screenshot is useful as a visual reference, but it is usually not the best final production file because its resolution can be limited.
What resolution should raster artwork be?
Around 300 DPI at the final print size is a useful target for many raster printing workflows. More important than the DPI label is having enough actual pixels at the required size.
Why should fonts be outlined?
Outlining converts the letters into vector shapes, preventing the design from changing if the printer does not have the same font installed.
Do embroidery files need different artwork?
Often yes. Small text and thin details may need simplifying, and the final design must be digitised into embroidery stitch instructions.
Should I send a mockup together with the source file?
Yes. The source file provides production quality, while the mockup helps show the intended size, position and overall appearance.
Artwork Checking
Not Sure Whether Your File Is Print-Ready?
Send the artwork, shirt type, garment colour, printing position and approximate print size. Uniform Johor can review the file before the order is prepared for printing.
Related Uniform Johor Articles
Regional Network
Our Other Company Websites
Explore related uniform, apparel and printing websites within the same company or regional business network.
JC Print Malaysia
Main company website for uniforms and printing services.
Visit website →SelangorPrint
Uniform and custom printing support for Selangor buyers.
Visit website →Uniform Penang
Uniform and apparel resources for Penang customers.
Visit website →Uniform Sabah
Uniform and custom apparel resources for Sabah buyers.
Visit website →Uniform Singapore
Uniform and apparel printing information for Singapore.
Visit website →Uniform Hub Singapore
Additional uniform resources for Singapore organisations.
Visit website →Tanah Studio
Apparel and creative services for the Australian market.
Visit website →KitaPrint
Printing support for agents and resellers.
Visit website →Disclosure: These are related company or regional network websites and are not presented as independent recommendations.